


The concept of NFTs has been around since the 2014s but it wasn’t until 2017 that projects like CryptoKitties and CryptoPunks started to create traction for NFTs. Jumping to 2021, NFTs took off like wildfire. They started being referenced in pop culture, mainstream media, and they influenced the concepts that many hackathon projects were based on.
The technology for creating NFTs has come a long way and is now more accessible to developers and non-developers alike. Along with the creation of NFT marketplaces such as OpenSea and Rarible, anyone can mint their own NFTs and sell them.
When minting video NFTs, a major factor to consider is the file size. Livepeer Video Services solves this issue when using the Video NFT SDK. This SDK will transcode the video to the proper file size utilizing the Livepeer Network as well as leveraging the layer 2 solutions of Polygon to reduce the cost of transactions on the Ethereum blockchain. Using the SDK makes it easy and more affordable to create video NFTs.
In this tutorial, we will utilize Livepeer Video Services’ Mint a Video NFT tool to create our own NFT that can play a video. Before we get started, here is a checklist of items required for this tutorial. Instructions on how to get and install these items will be provided in the steps that follow.
Checklist
- ☑️ Sign up for a free account at Livepeer Video Services to create an API key
- ☑️ Jellyfish Video *This is an example video that will be used, there are other free videos available at Pexels.
- ☑️ Sign up for a free Metamask account
- ☑️ Add Polygon Mumbai testnet to Metamask wallet
- ☑️ Get Polygon test MATIC
- ☑️ Install Video NFT
Installation process
Step 1: Signup for a free account at Livepeer Video Services and create an API key
* If you need a step-by-step process for getting a free account and the API key, visit the How to make API calls with Postman tutorial.
Step 2: Get a video to mint as an NFT For this example, we will use this video: Jellyfish Video You can also find another video using Pexels or use provide one of your own. If you do use one of your own, make sure it is in a .mp4 format.*
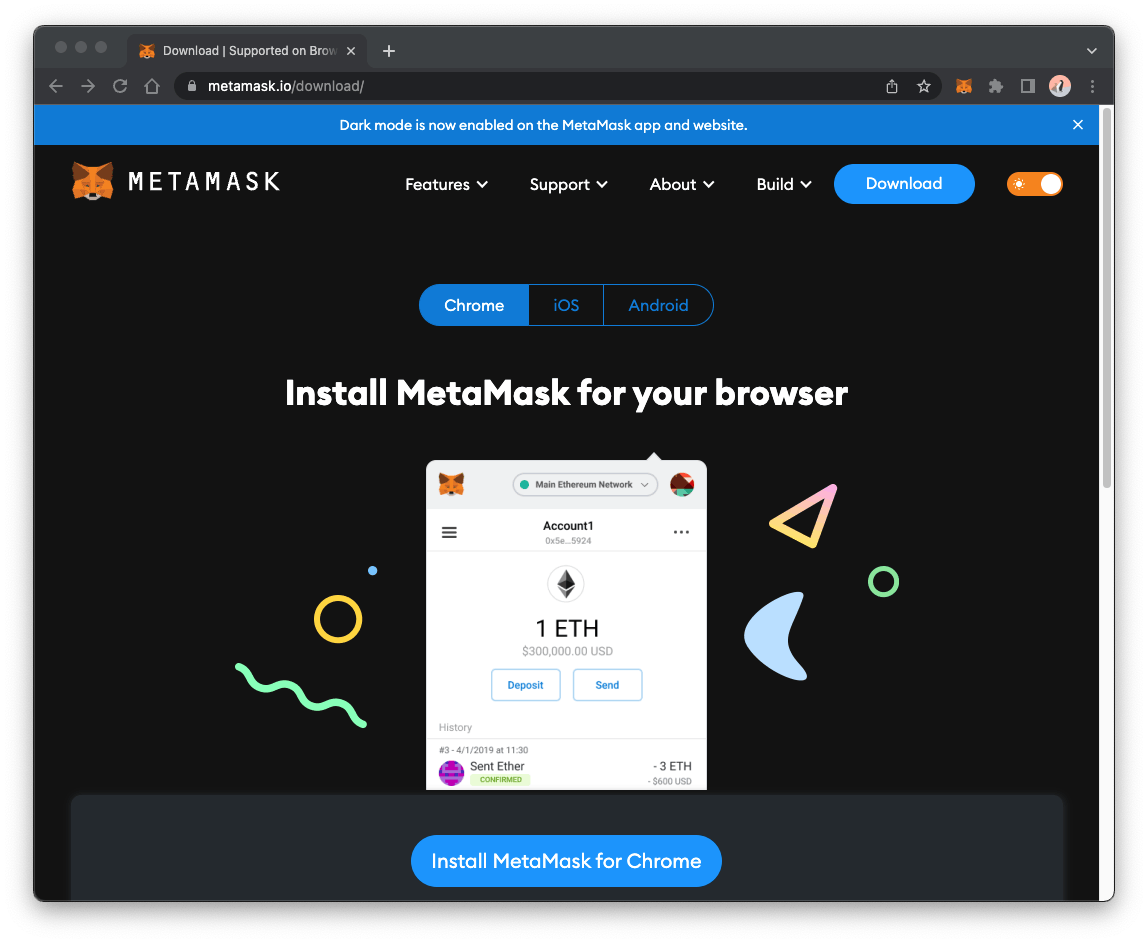
Step 3: Install Metamask (if you do not already have one)
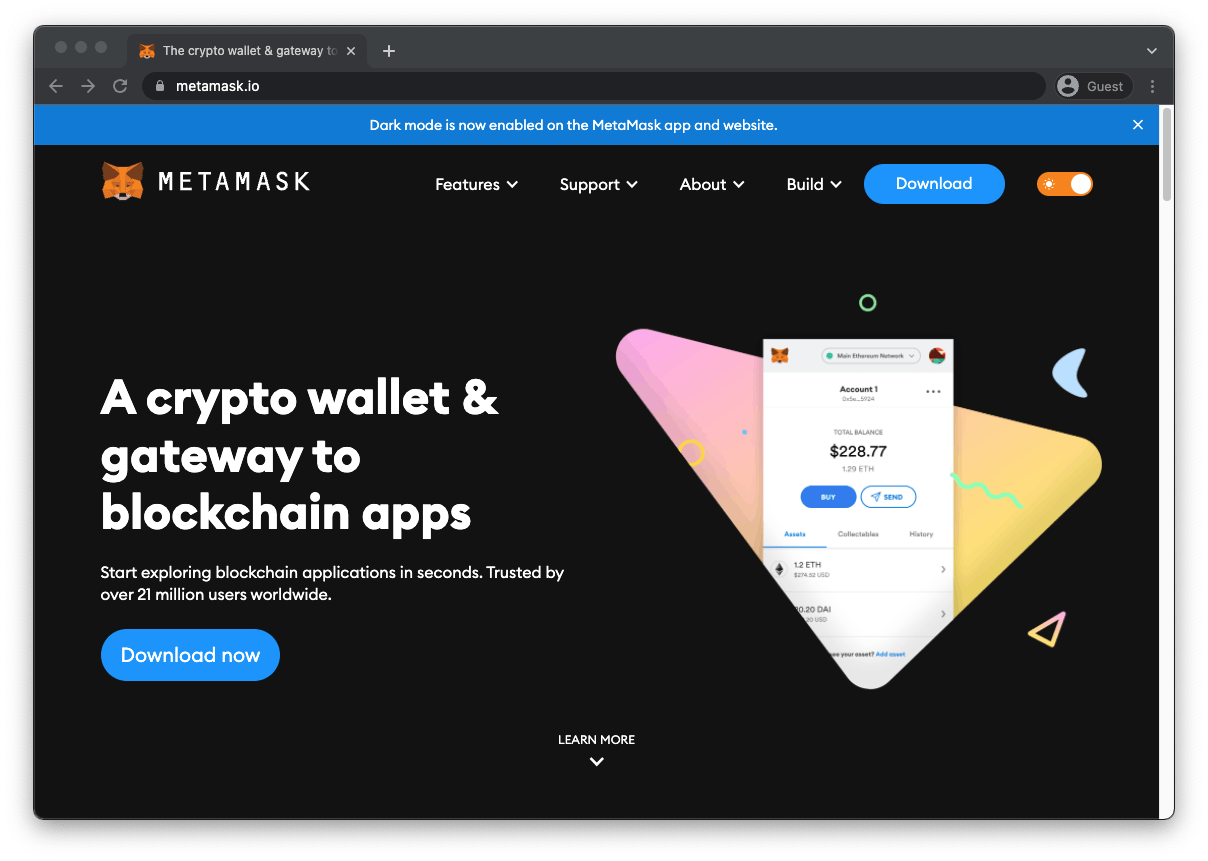
- Go to Metamask and download the browser extension. For this tutorial, we will use the Chrome version, but a Firefox version is also available.
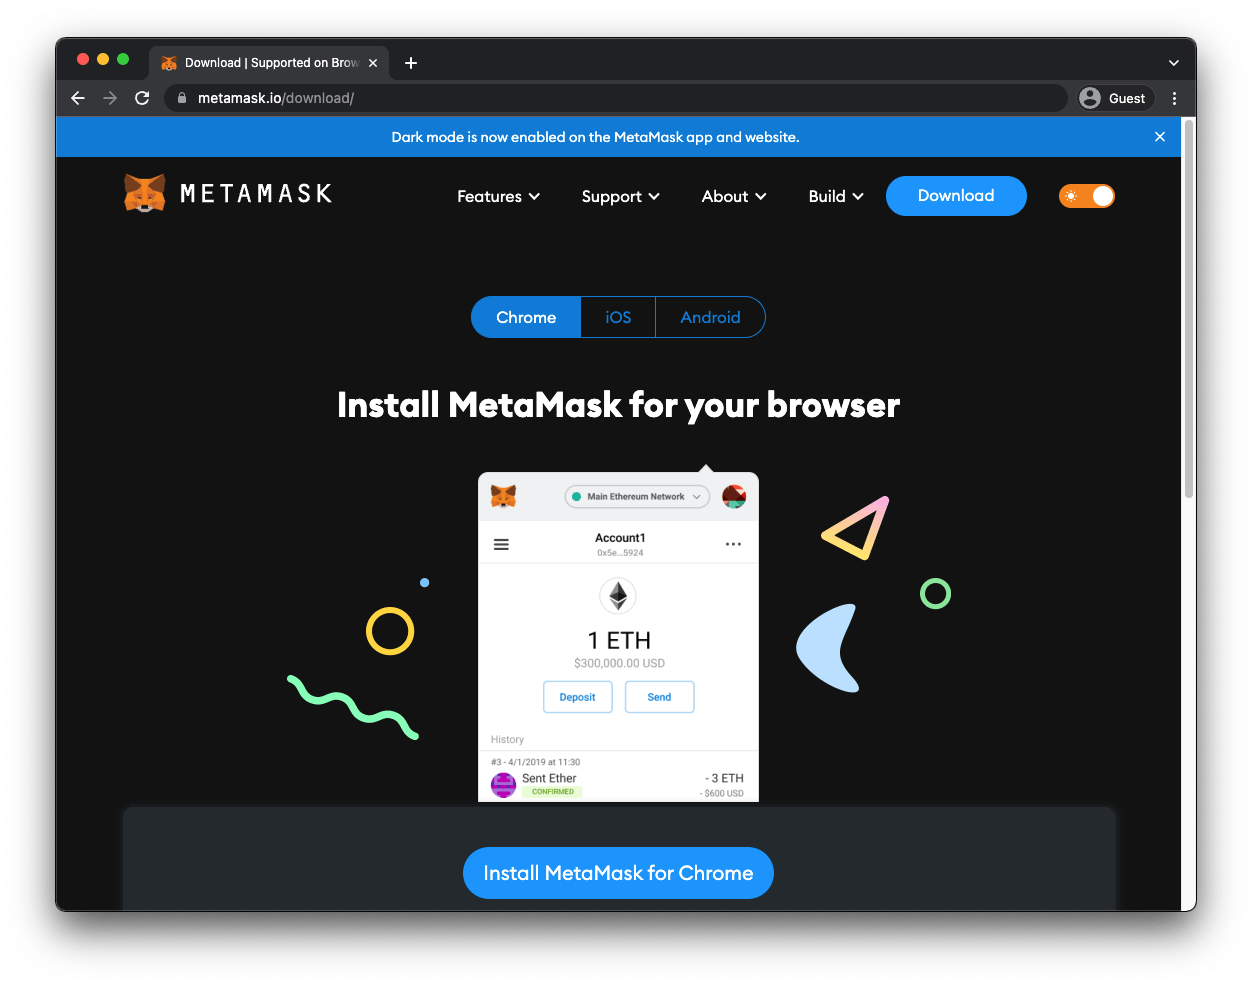
- Once downloaded, you should see the Metamask logo in the extension menu
- Next, set up your Metamask wallet — Polygon has a great tutorial on how to do this
Step 4: Configuring Polygon network for Metamask
We need to configure the Polygon network to the Metamask wallet. For this tutorial, we will use the Polygon testnet called Mumbai, but they also have the Polygon mainnet configuration as well.
Step 5: Getting MATIC for testing
- Minting NFTs has a gas fee associated with it, so we need to add funds to our wallet. Since we are using the Mumbai testnet, we will need to get some test MATIC tokens. If you are using Polygon’s mainnet, you can find the MATIC faucet here.

- Make sure the Mumbai tab is selected
- Paste in your wallet address and you should receive some test MATIC token
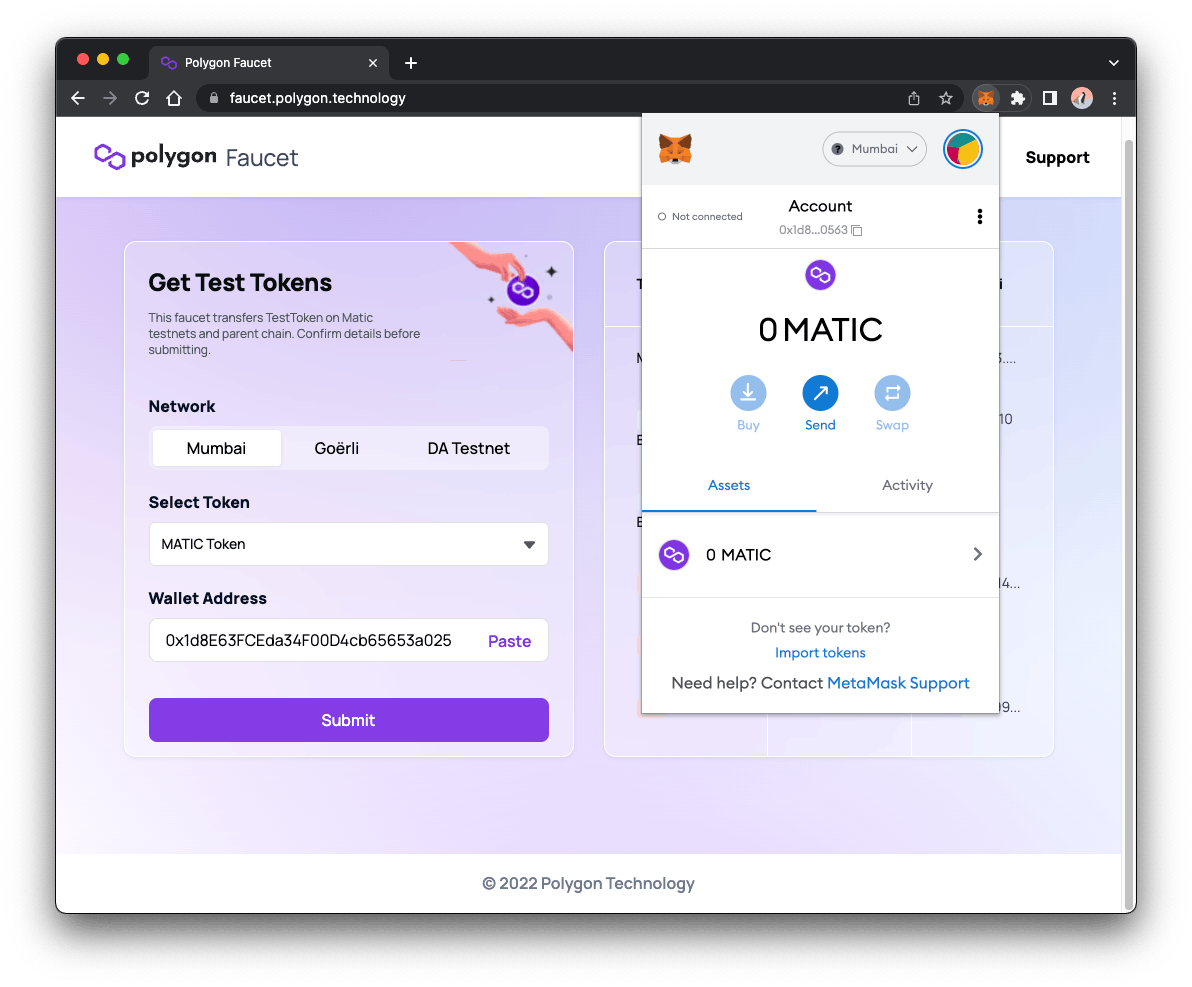
- Click the submit button and a confirmation window should pop up
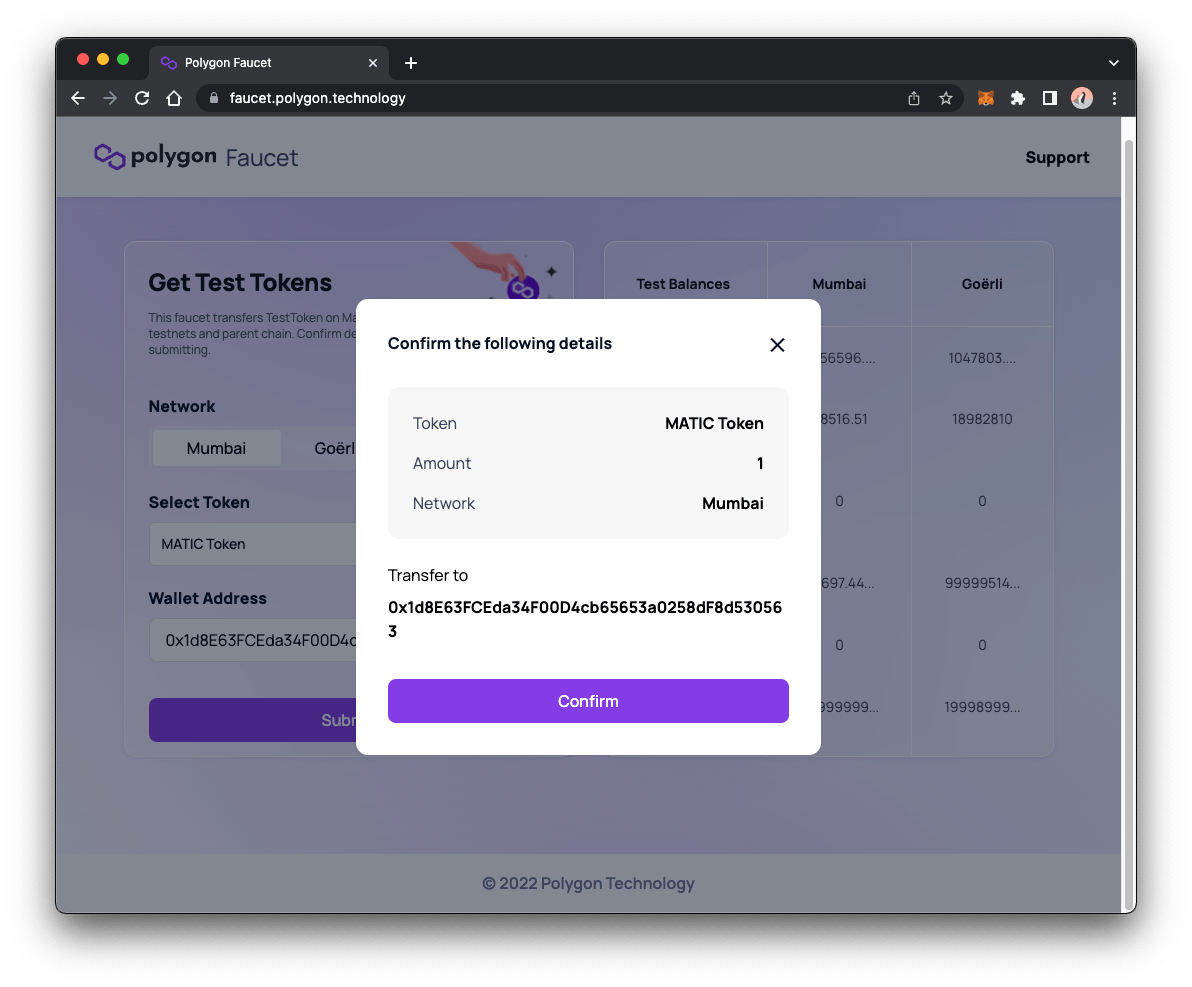
- Click confirm and a message should appear stating the transaction went through
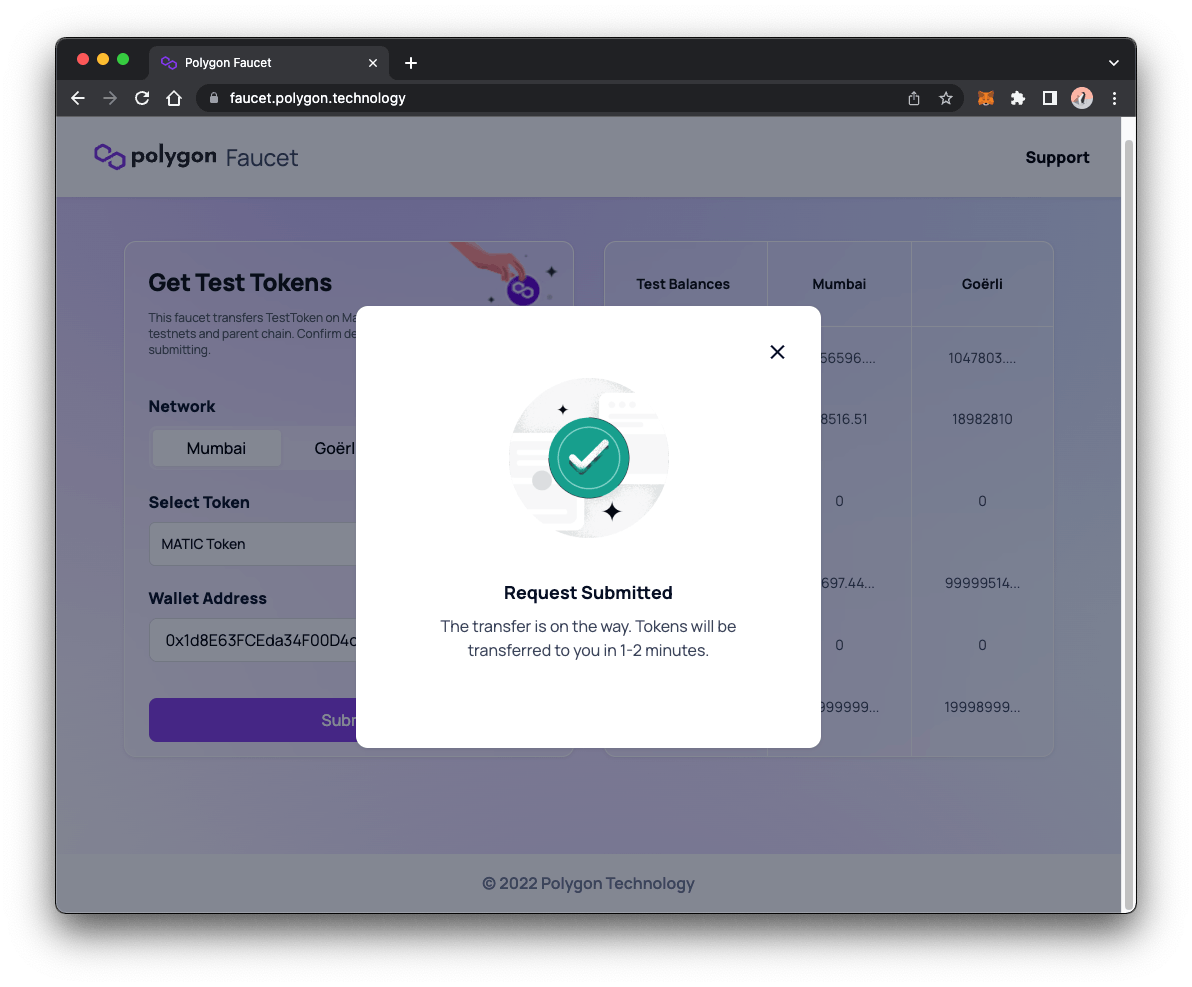
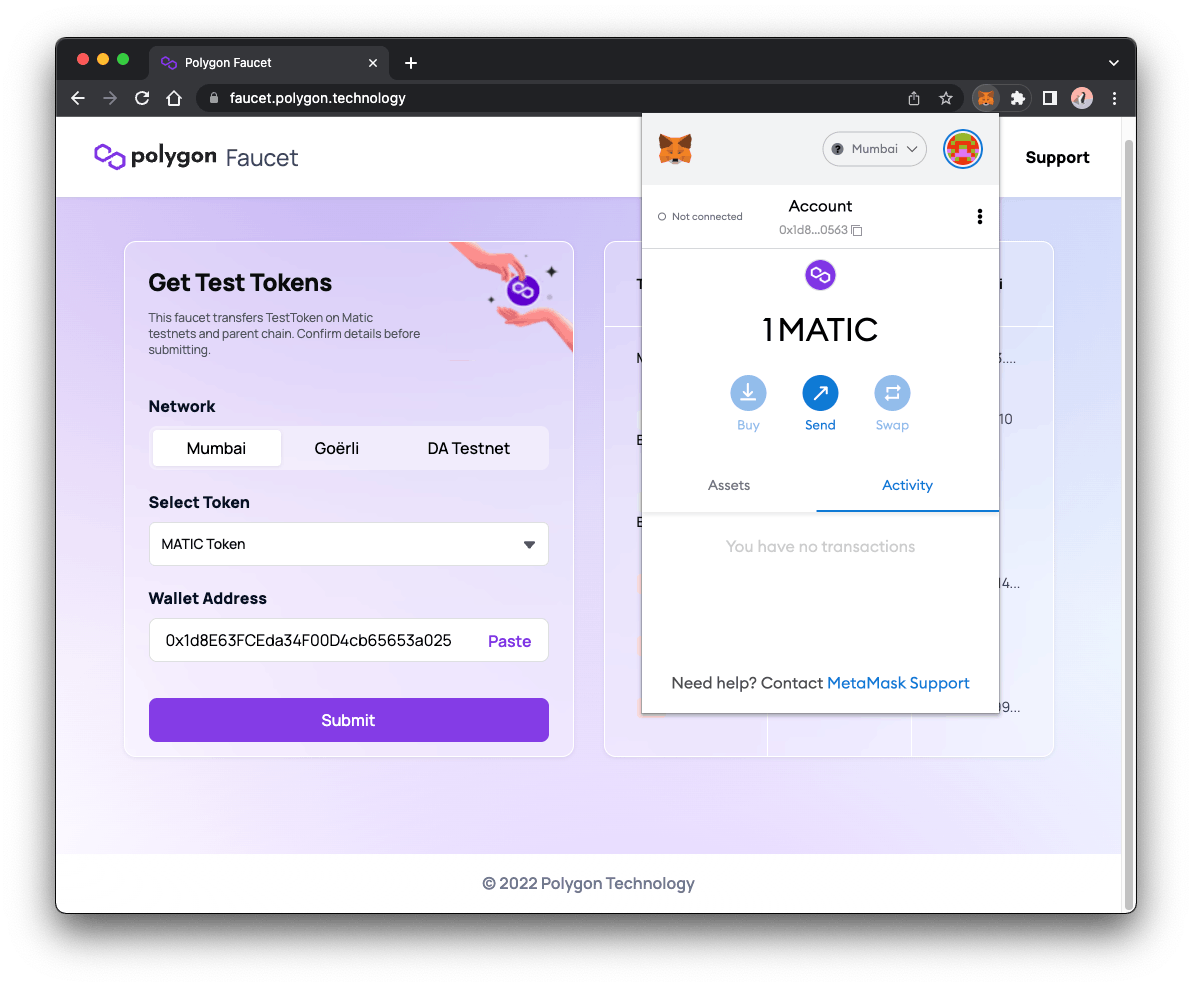
- Your wallet should be funded with some test MATIC tokens
Step 6: Installing the mint Video-NFT
If you want to have video-nft available as a command on your machine, you can also install the CLI persistently with npm i -g @livepeer/video-nft, and after that just call video-nft from anywhere to run it.
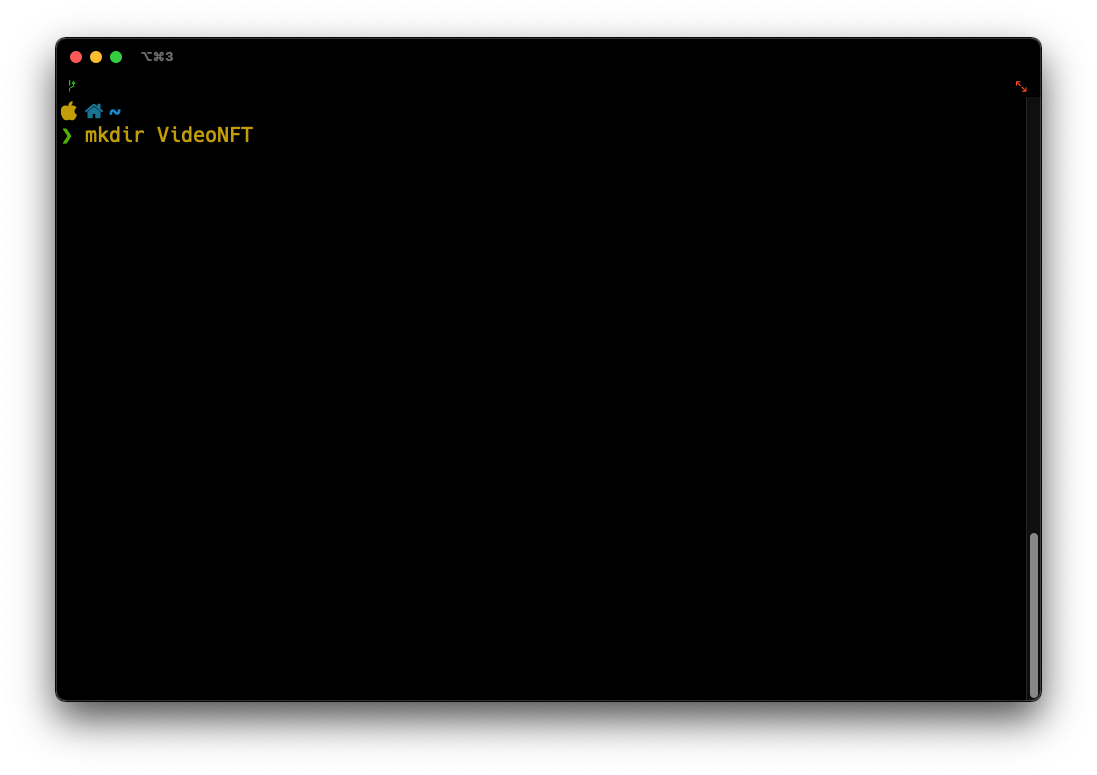
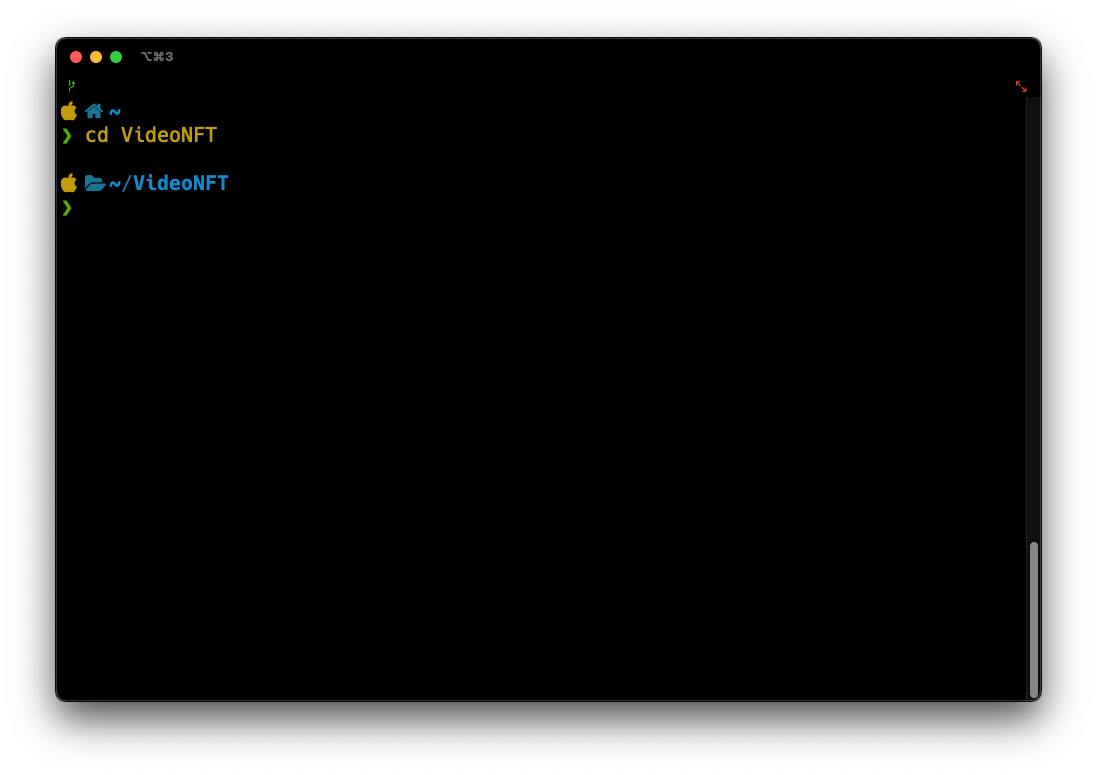
- Create a new directory with the command
mkdir VideoNFT
- Change into that directory using the
cd VideoNFTcommand
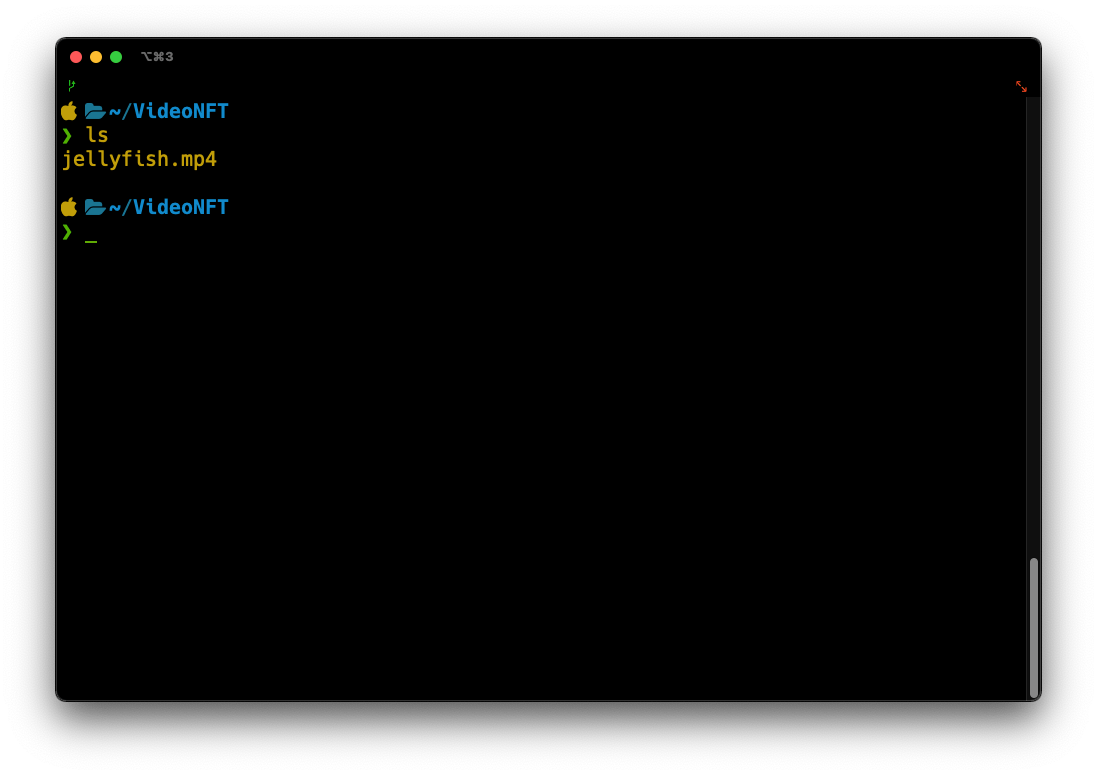
- Move the video from Step 2 into this directory
The file should be in this directory, use the
lscommand to view it
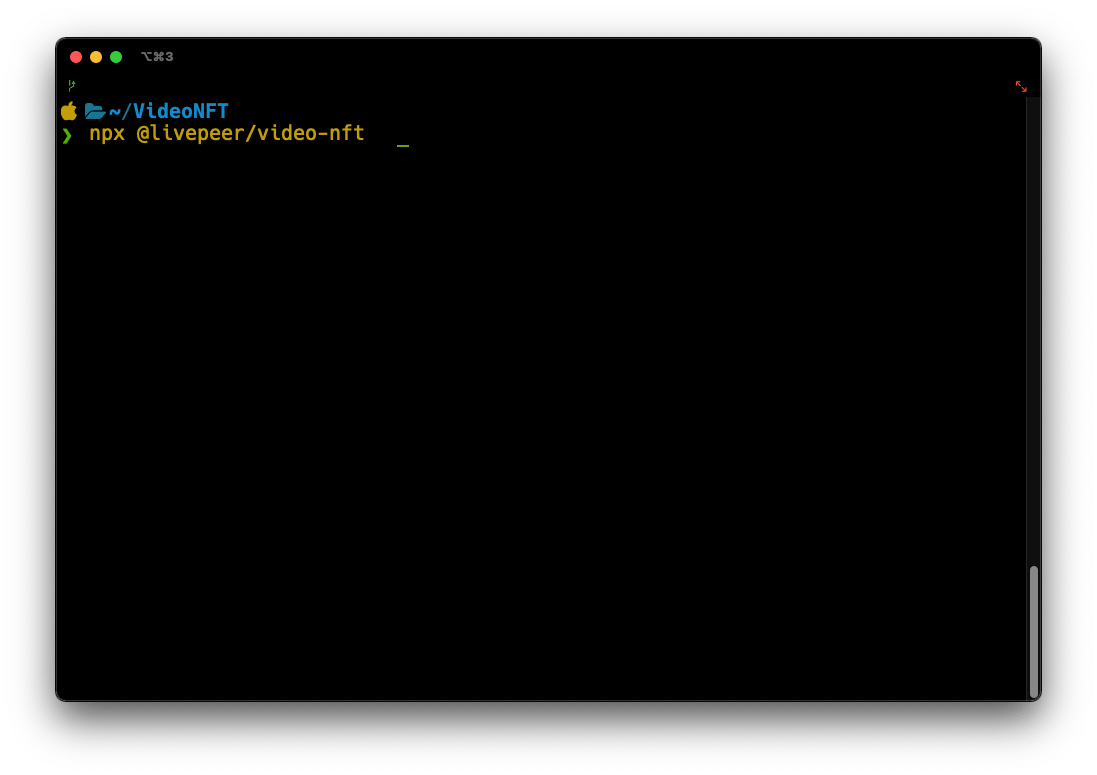
- Run Livepeer Video Services Video NFT using the
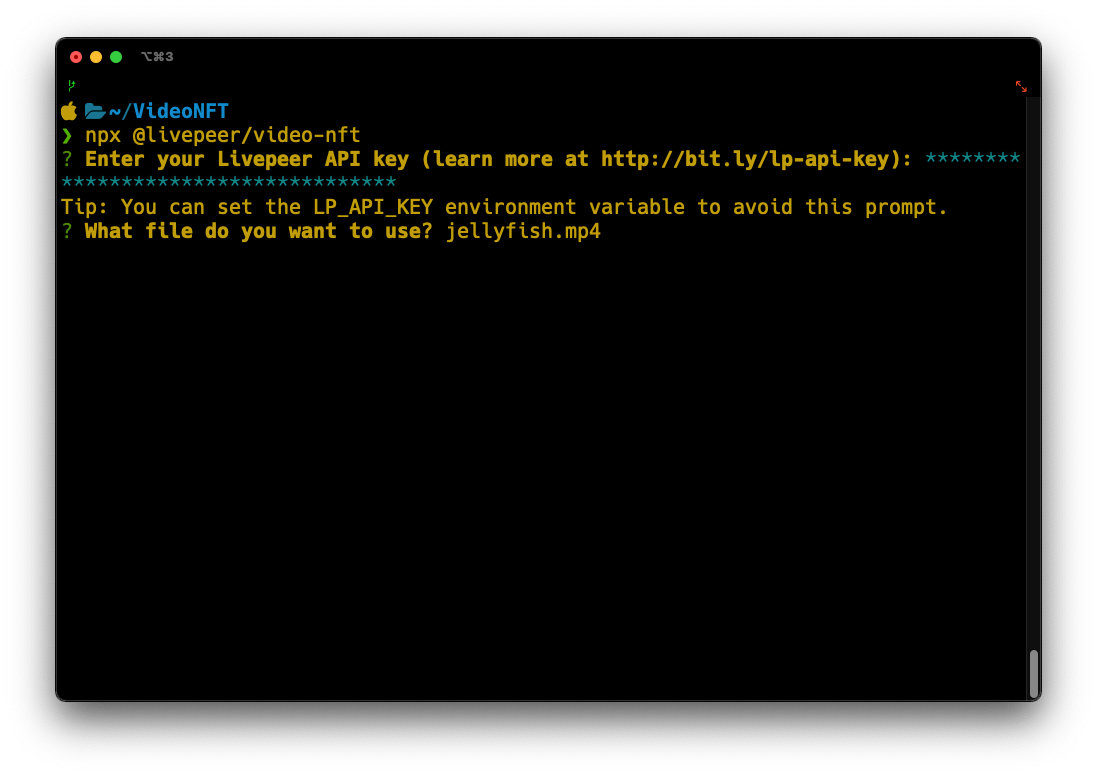
npx @livepeer/video-nftcommand
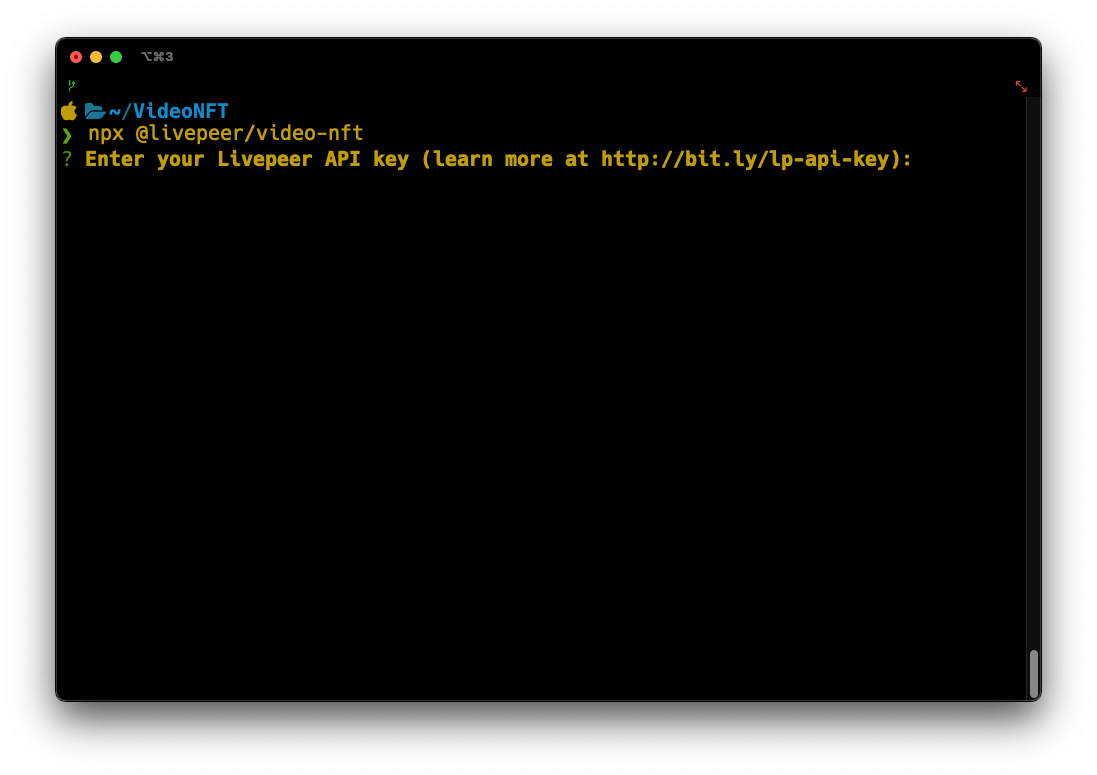
- Copy and paste the API key that you got from Step 1

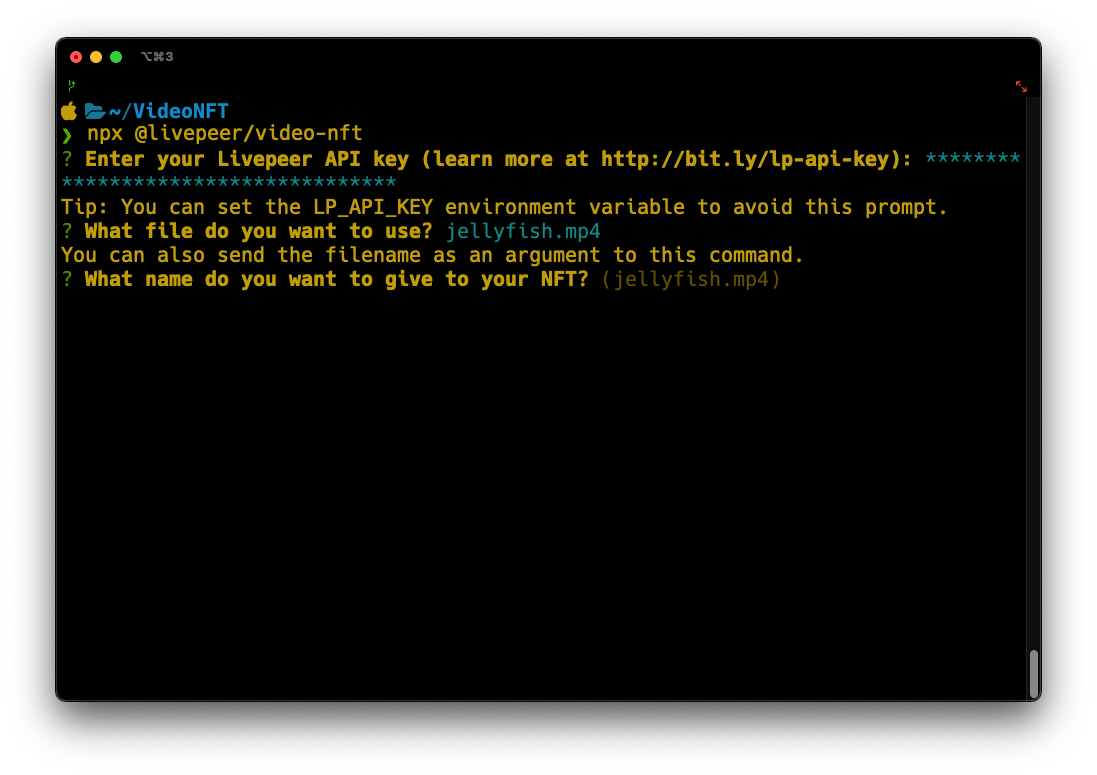
- Type in the name of the video file, for this example, it is jellyfish.mp4
- Provide the name you want to give the NFT, you can use the file name to name the NFT but in this example, we will use JellyFish
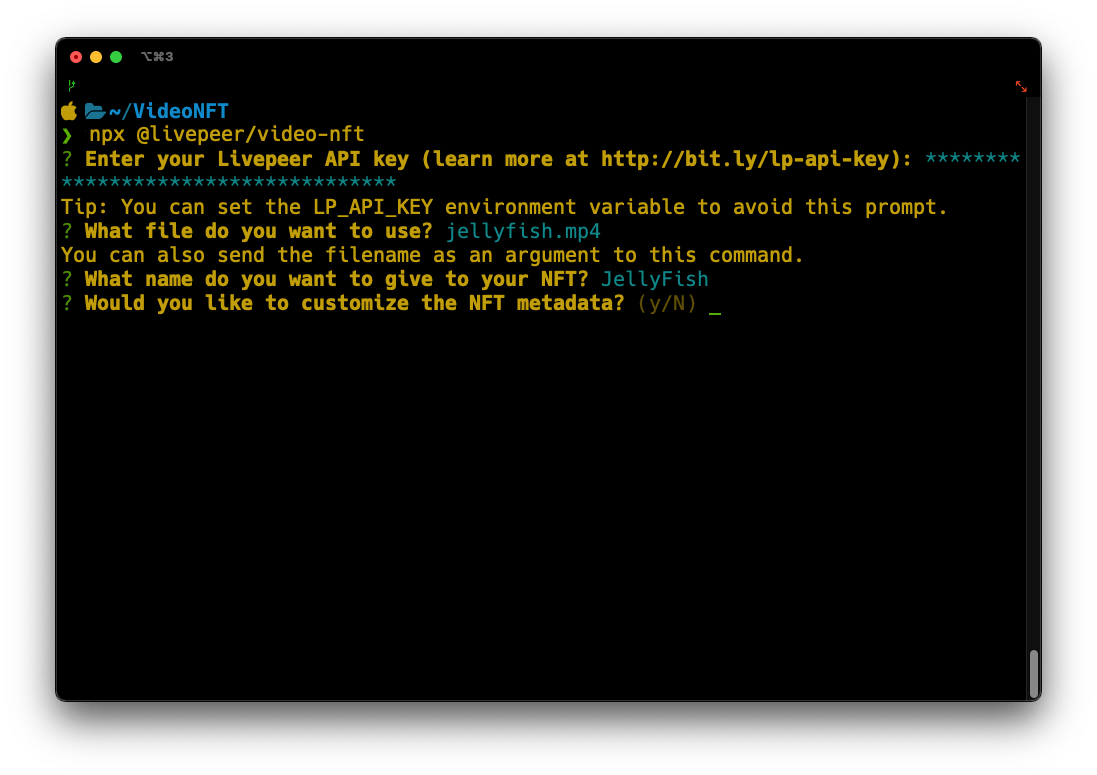
- In this example we will not customize our metadata so select no for customizing the metadata for the NFT

- A message should appear that states the export is successful along with the metadata and our URL for minting

- Copy the URL in Step 3 for the next step
Step 7: Minting the video NFT
- Copy and paste the URL from the previous step into a browser window
- A Livepeer Video Services site should appear with a Mint a Video NFT pop up
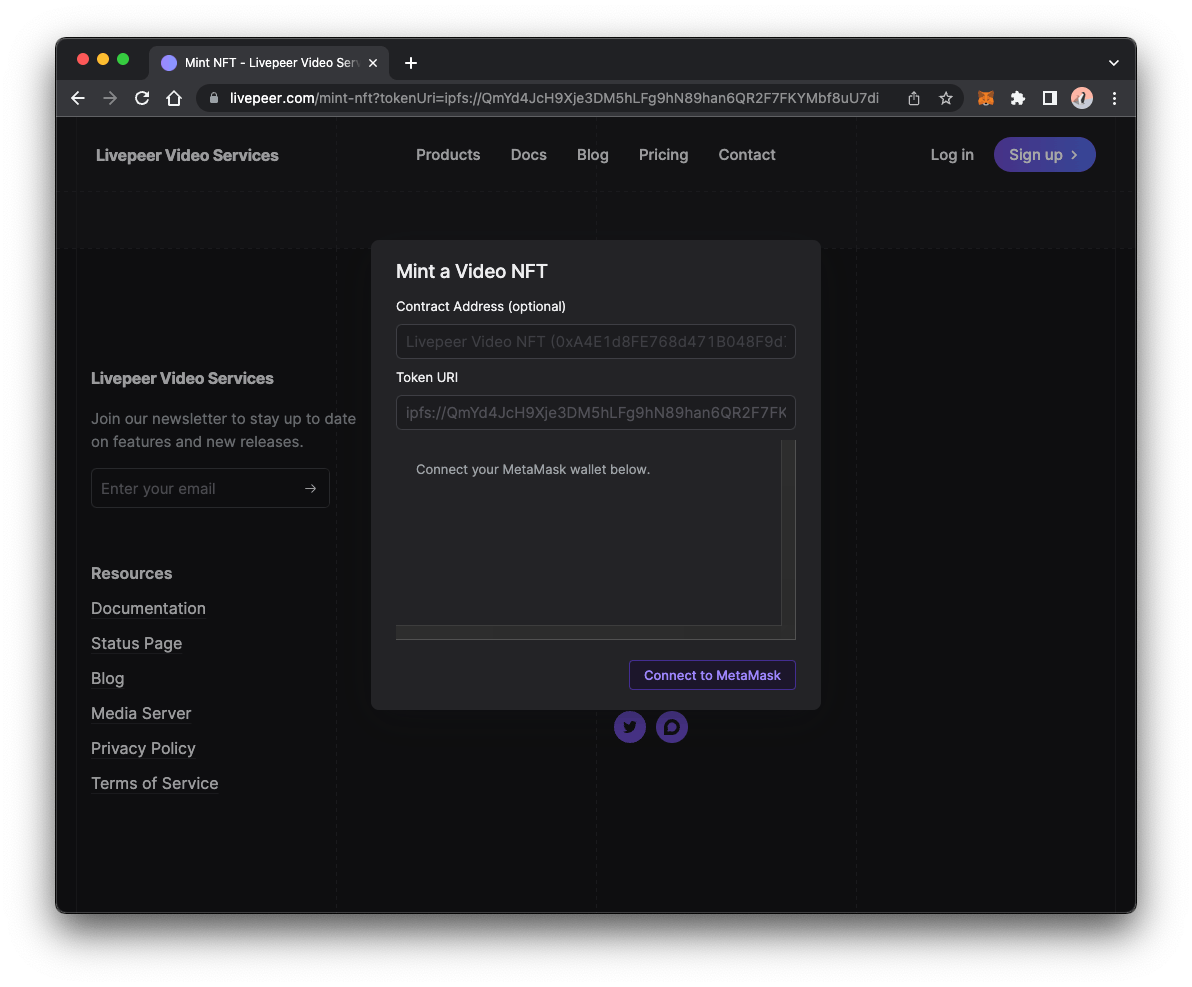
- Click the Connect to Metamask button
- Metamask browser extension should open and ask the account to connect to
- Select the account with the funded testnet MATIC and connect it
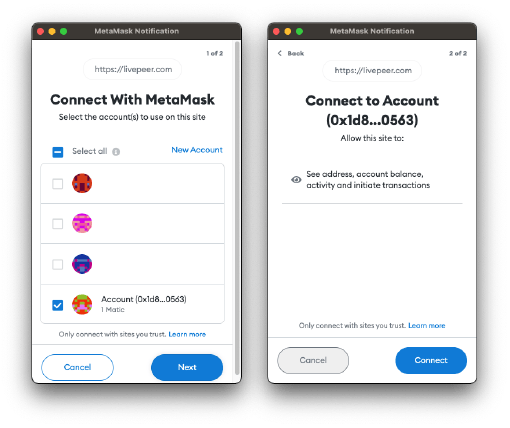
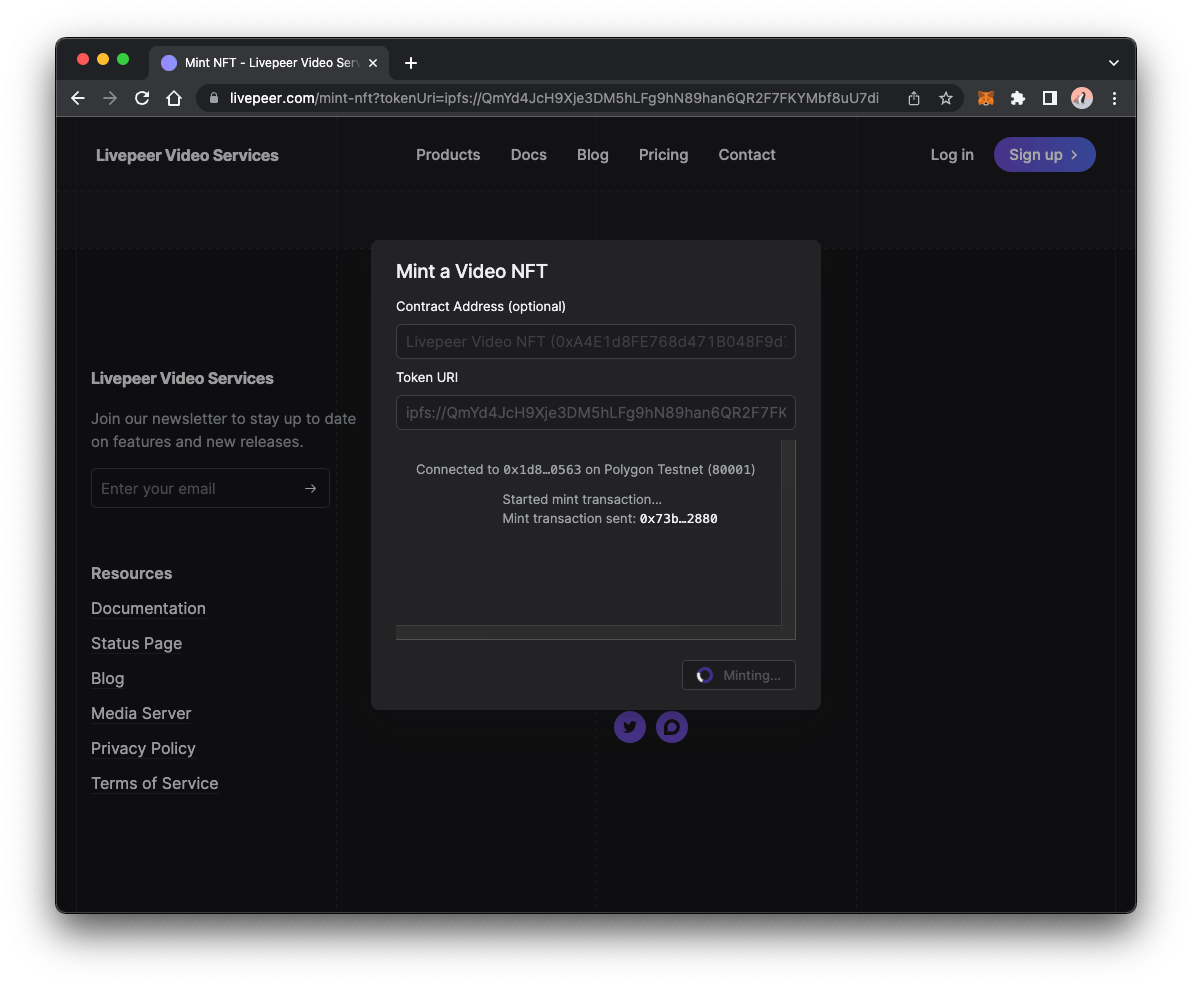
- Once connected, the pop up should have the ContractAddress and the message box should state that you are connected to the Polygon Testnet
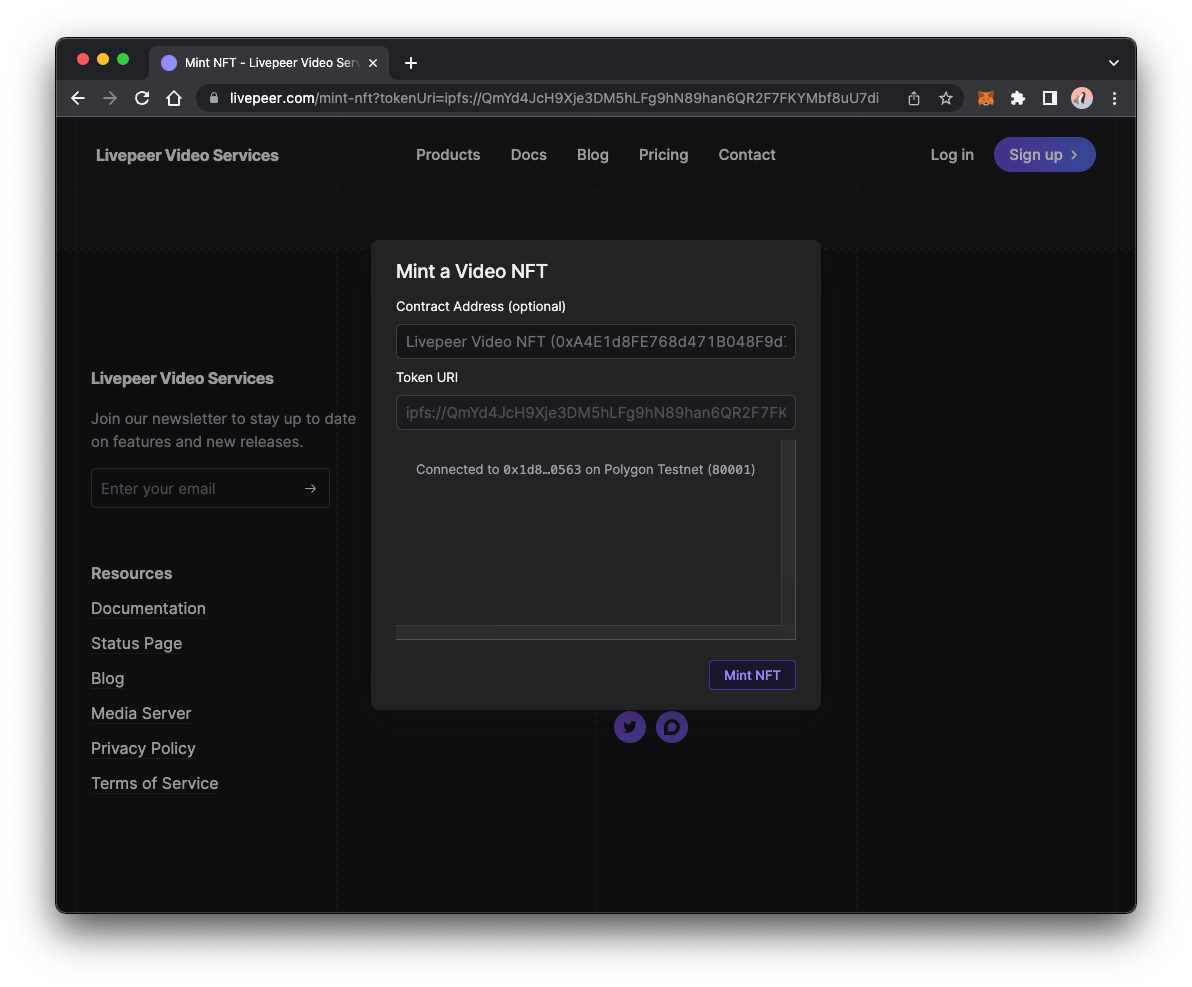
- Click the Mint NFT button
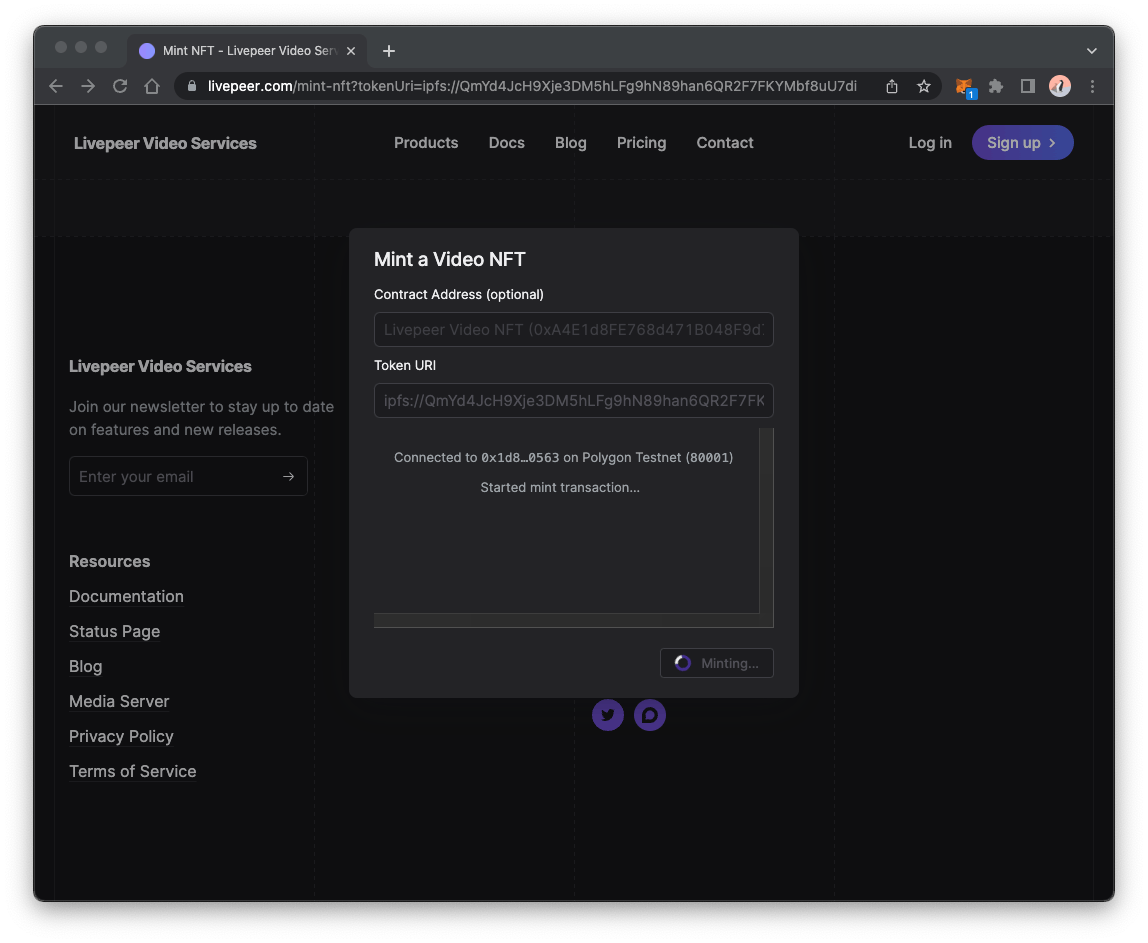
- Metamask browser extension should open and ask to confirm the transaction fee
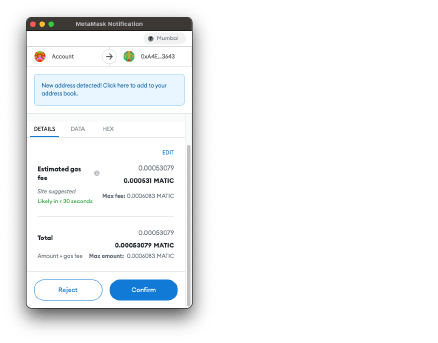
- Click the Confirm button
- You should see the minting in progress in the message field
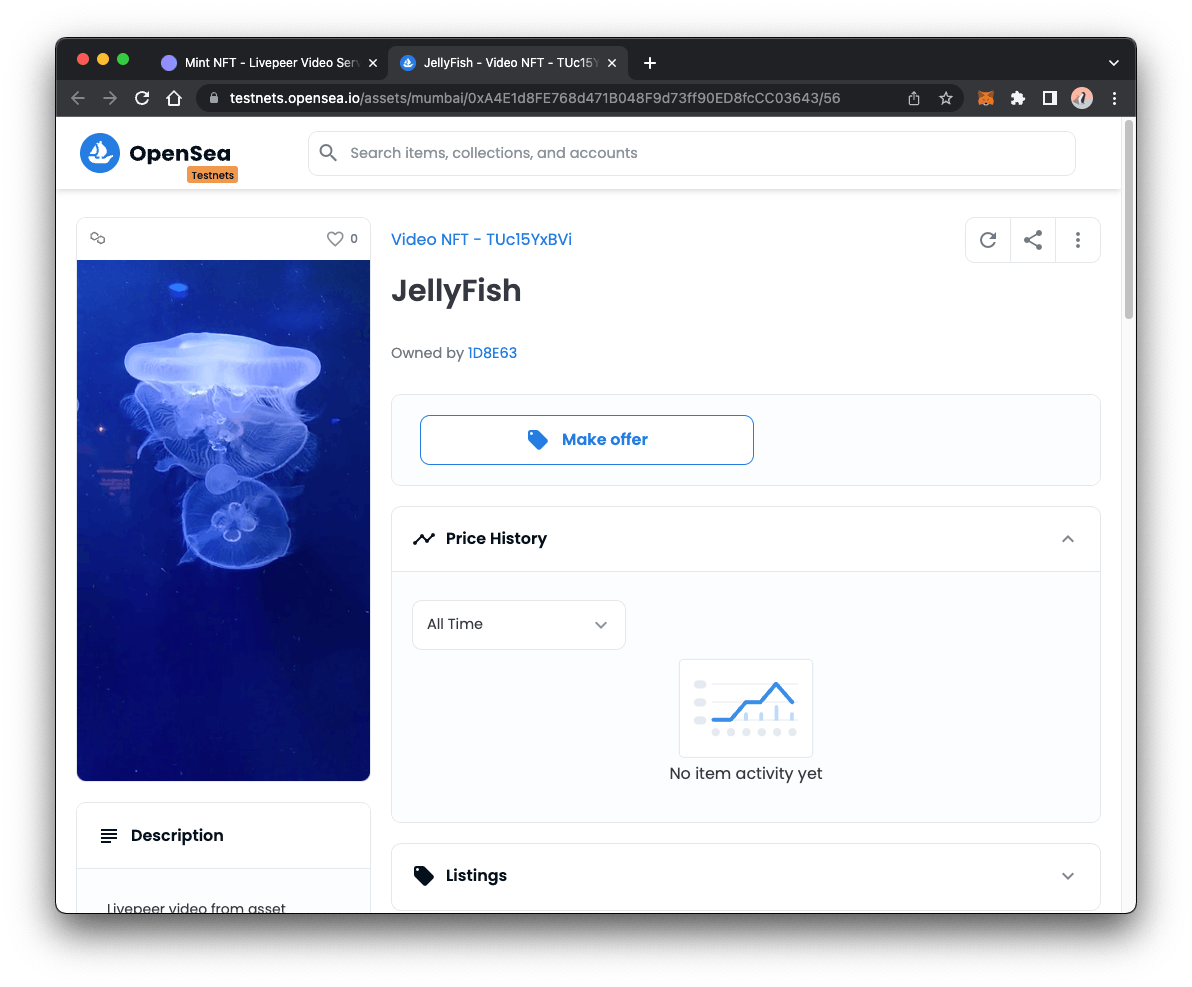
- Once the minting is completed, it should provide a link to OpenSea testnet where you can view your Video NFT! For example: testnets.opensea.io/assets/mumbai/0xA4E1d8F..
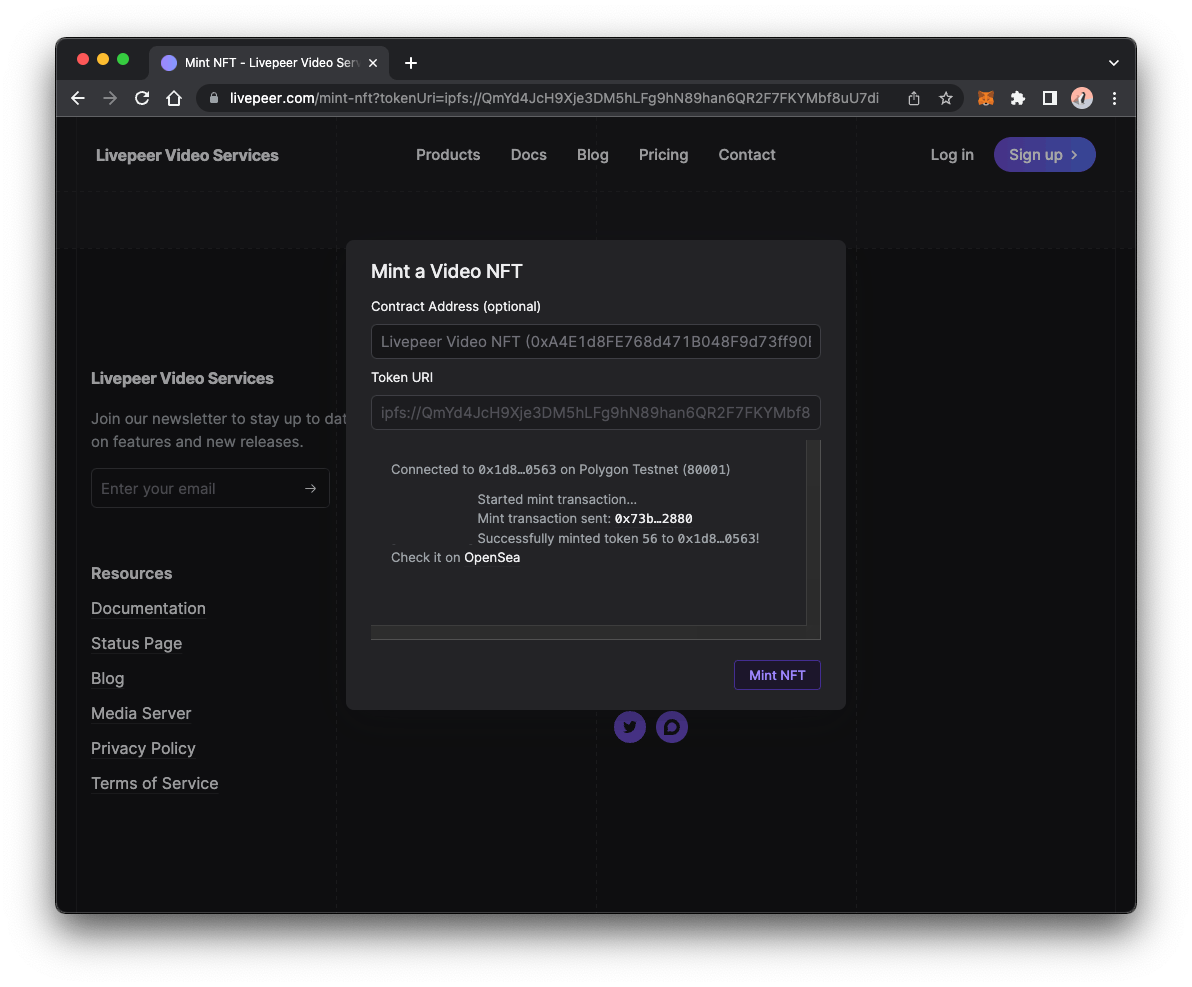
Congratulations! You have minted a video NFT using Livepeer Video Services Video NFT.
Using the Video NFT is a great way to get started with being able to upload video NFTs. If you want to upload videos and do not want to mint NFTS, Livepeer Video Services also has Video on Demand where you can do just that.